DIY Solar Flat Roof in Italy: What “DIY”
Really Means on Commercial Jobs
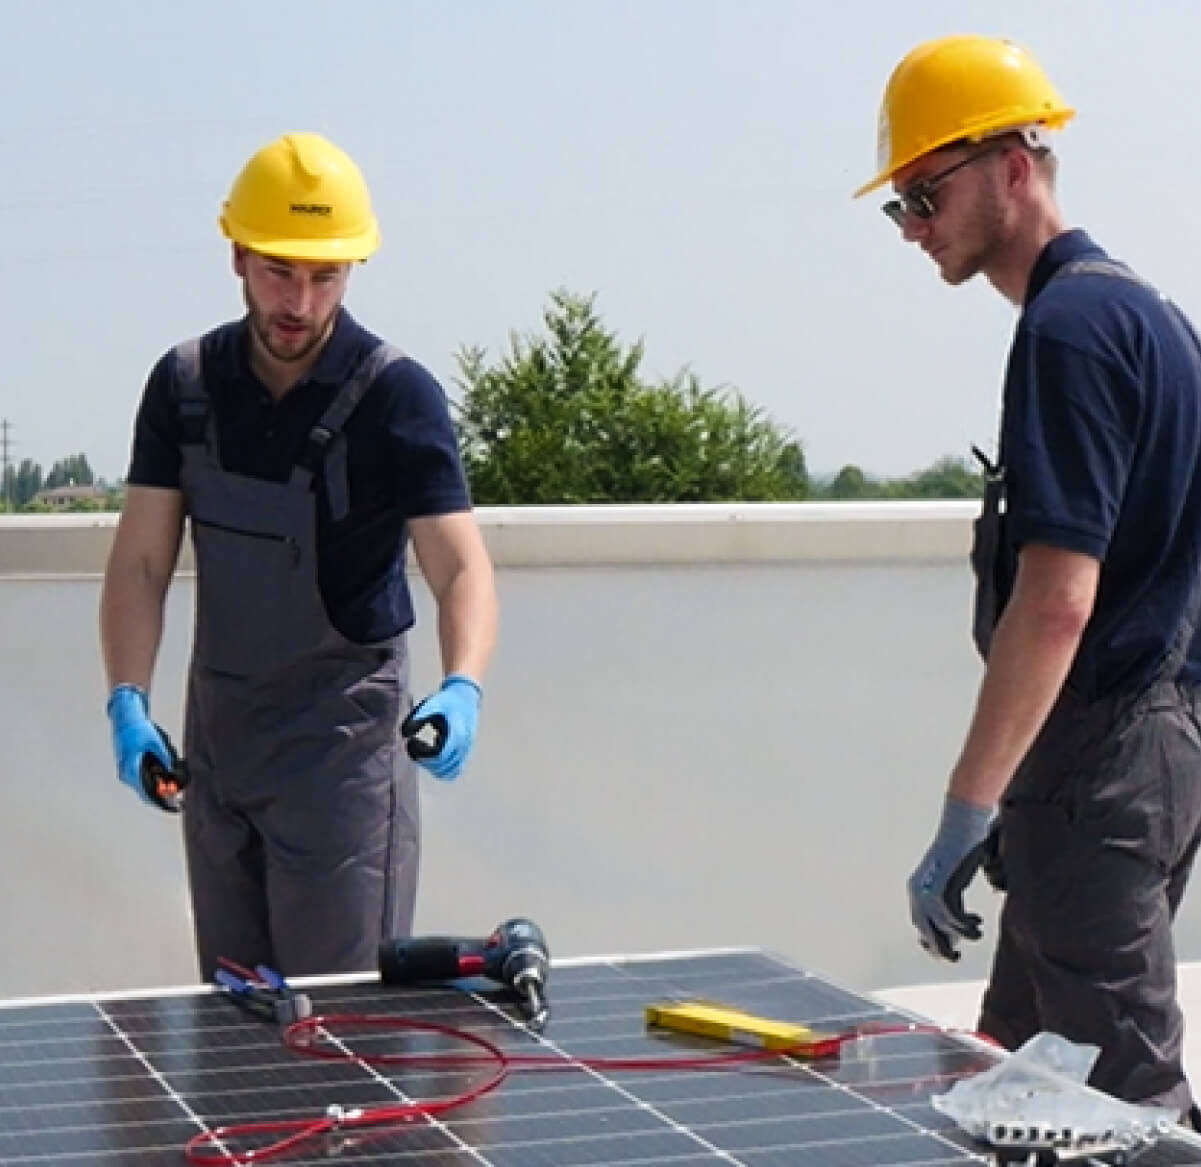
Searching for “diy solar flat roof” often means one thing: you
want a photovoltaic system on a flat roof that is quick to install, predictable on site, and
doesn’t create headaches with waterproofing. In the Italian market, the smart “DIY” approach for
many installers and designers is not improvisation—it’s choosing a simplified mounting method
that reduces parts, avoids roof drilling, and speeds up commissioning. Flat roofs can be ideal
for PV, but they bring specific challenges: wind uplift, roof load limits, membrane protection,
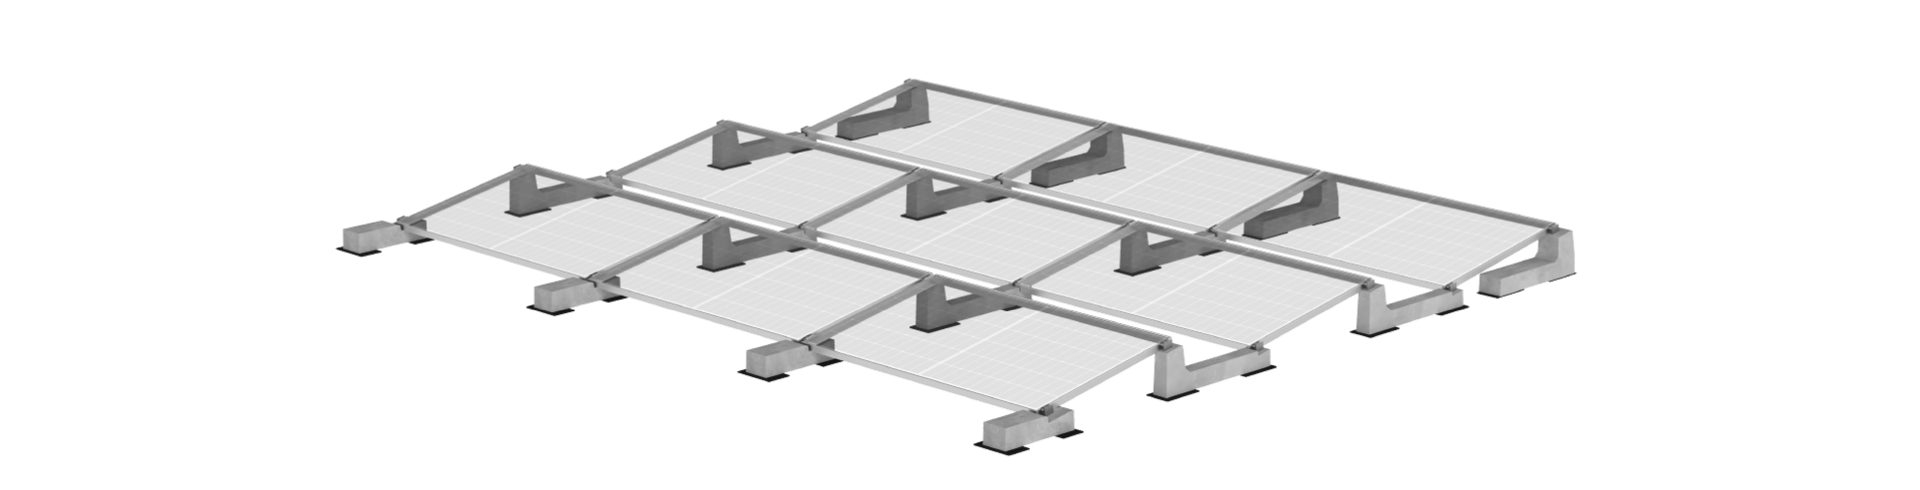
drainage paths, and safe access. That’s why ballast-based PV mounting systems are so popular:
they rely on concrete weights rather than penetrations, helping protect the roof covering while
keeping the installation workflow straightforward. For installers, this can translate into fewer
steps, fewer mistakes, and a cleaner handover. For engineers and technical offices, it means
using tested, repeatable solutions with reliable data for calculations. If your goal is a diy
solar flat roof project that feels “easy” in real life, start by thinking like a professional:
define the roof constraints, select a mounting structure designed for flat roofs, and build a
layout that balances energy yield, stability, and maintenance access.
Key Design Checks: Wind, Loads, Orientation,
and Waterproofing
A successful diy solar flat roof installation begins with checks
that protect both performance and liability. First, evaluate wind exposure: coastal areas,
elevated buildings, and roof edges all increase uplift risk, so wind calculations and field
zoning are essential. Next, confirm structural capacity and distributed loads—ballasted
solutions add weight, but they can spread it evenly and avoid concentrated stress around
anchors. Orientation and tilt matter too: selecting the right inclination can improve production
while controlling shading between rows. Don’t forget service corridors for maintenance and
emergency routes. On the waterproofing side, the golden rule is simple: avoid unnecessary
penetrations and protect the membrane with compatible separation layers where required. Also
keep drainage points clear; a flat roof PV array should never block water flow. Finally, use
bankable components and documented mechanical testing—this helps designers sign off confidently
and helps installers avoid last-minute changes on site.
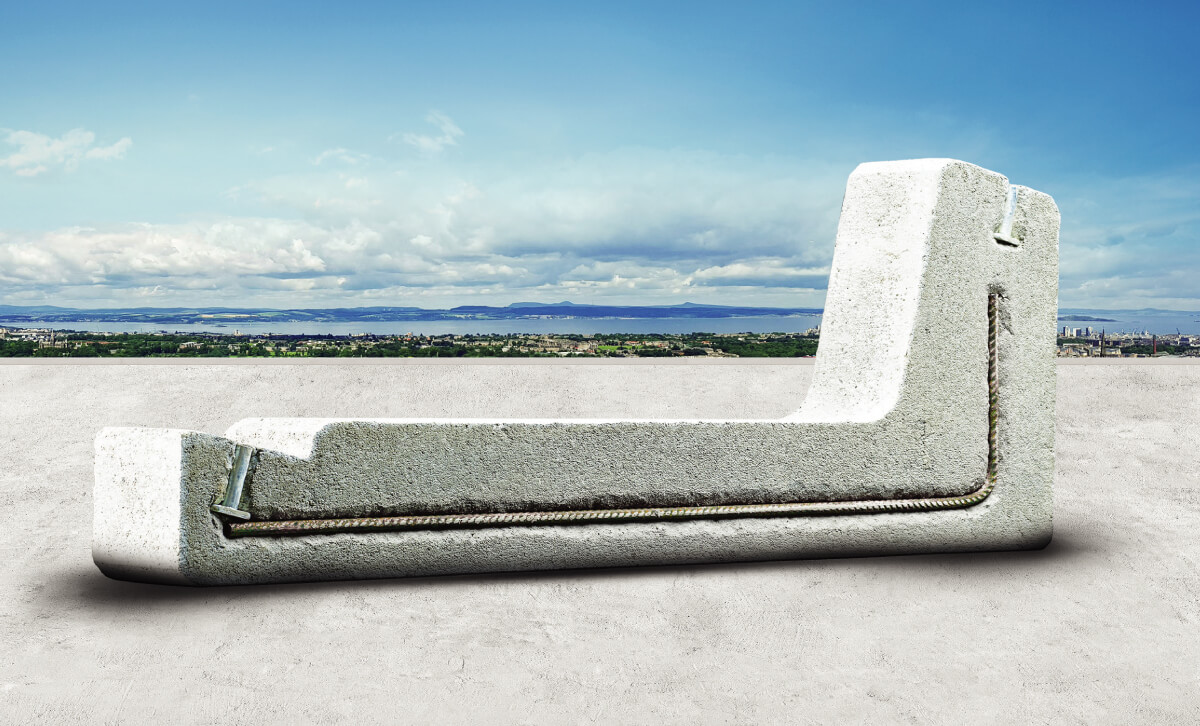
Why Ballasted Mounting Makes DIY Solar Flat
Roof Projects Faster and Safer
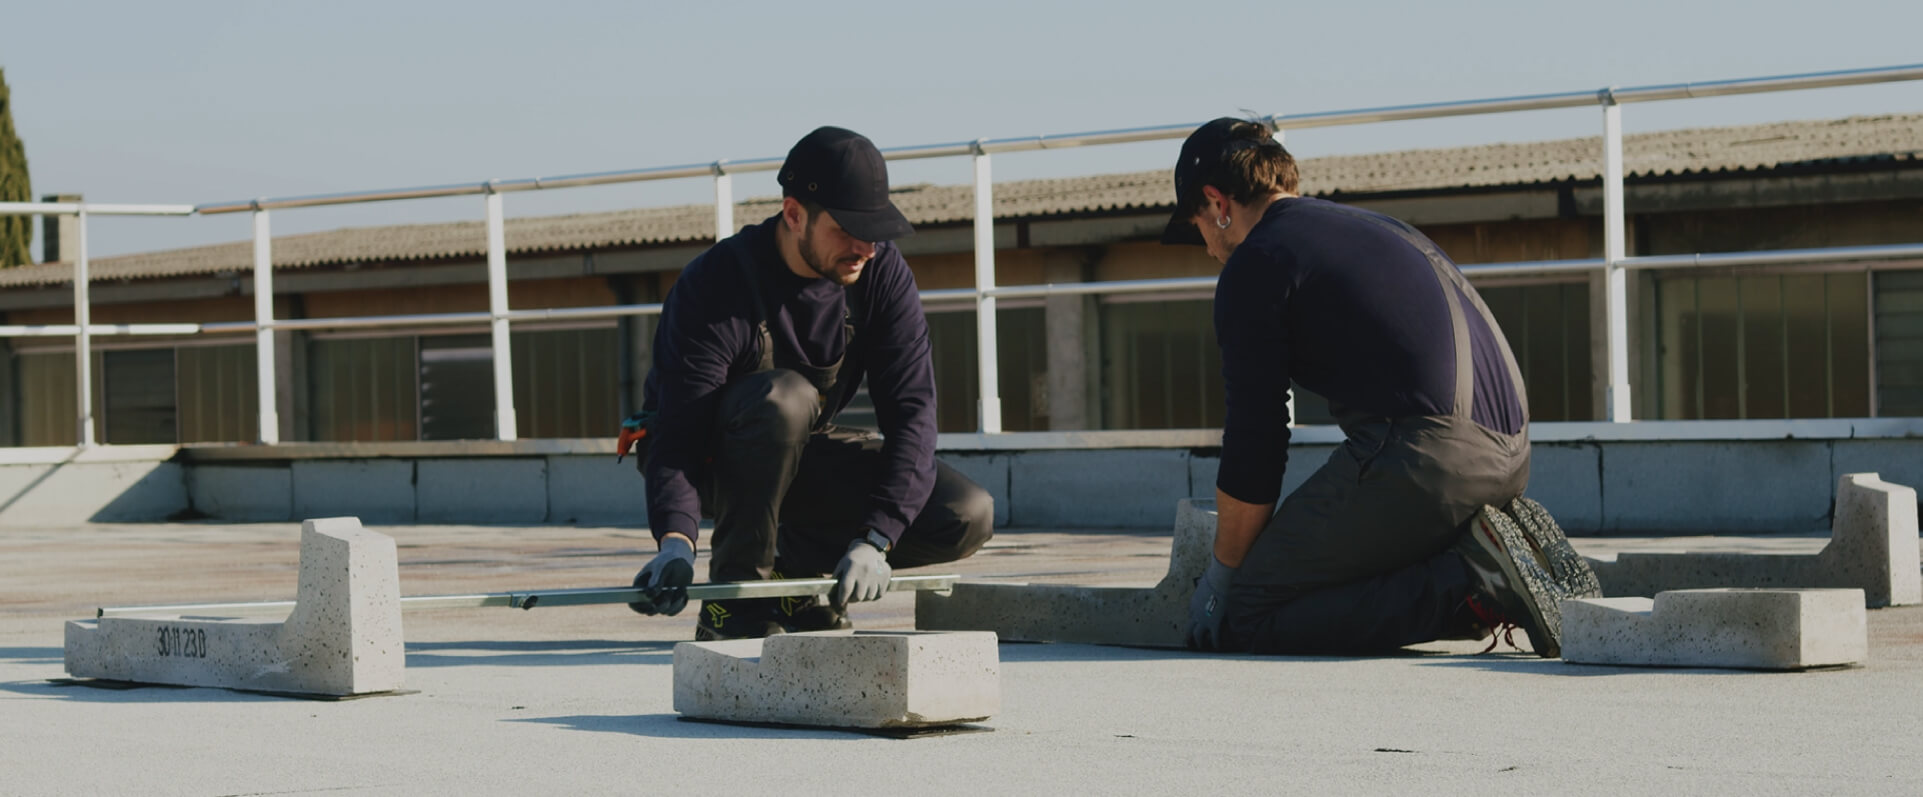
For many professionals, the fastest path to a reliable diy solar
flat roof setup is a no-penetration, ballasted mounting structure engineered specifically for
flat roofs. With concrete ballast supports, the workflow becomes more linear: place the
supports, position modules, manage cabling, and complete electrical connections with fewer
structural surprises. The big advantage is risk reduction—no drilling means fewer waterproofing
claims and fewer delays waiting for roof approvals. It also simplifies logistics: fewer small
components to count, fewer assembly errors, and easier training for crews. For technical teams,
pre-defined configurations and support during design and system sizing can cut engineering time,
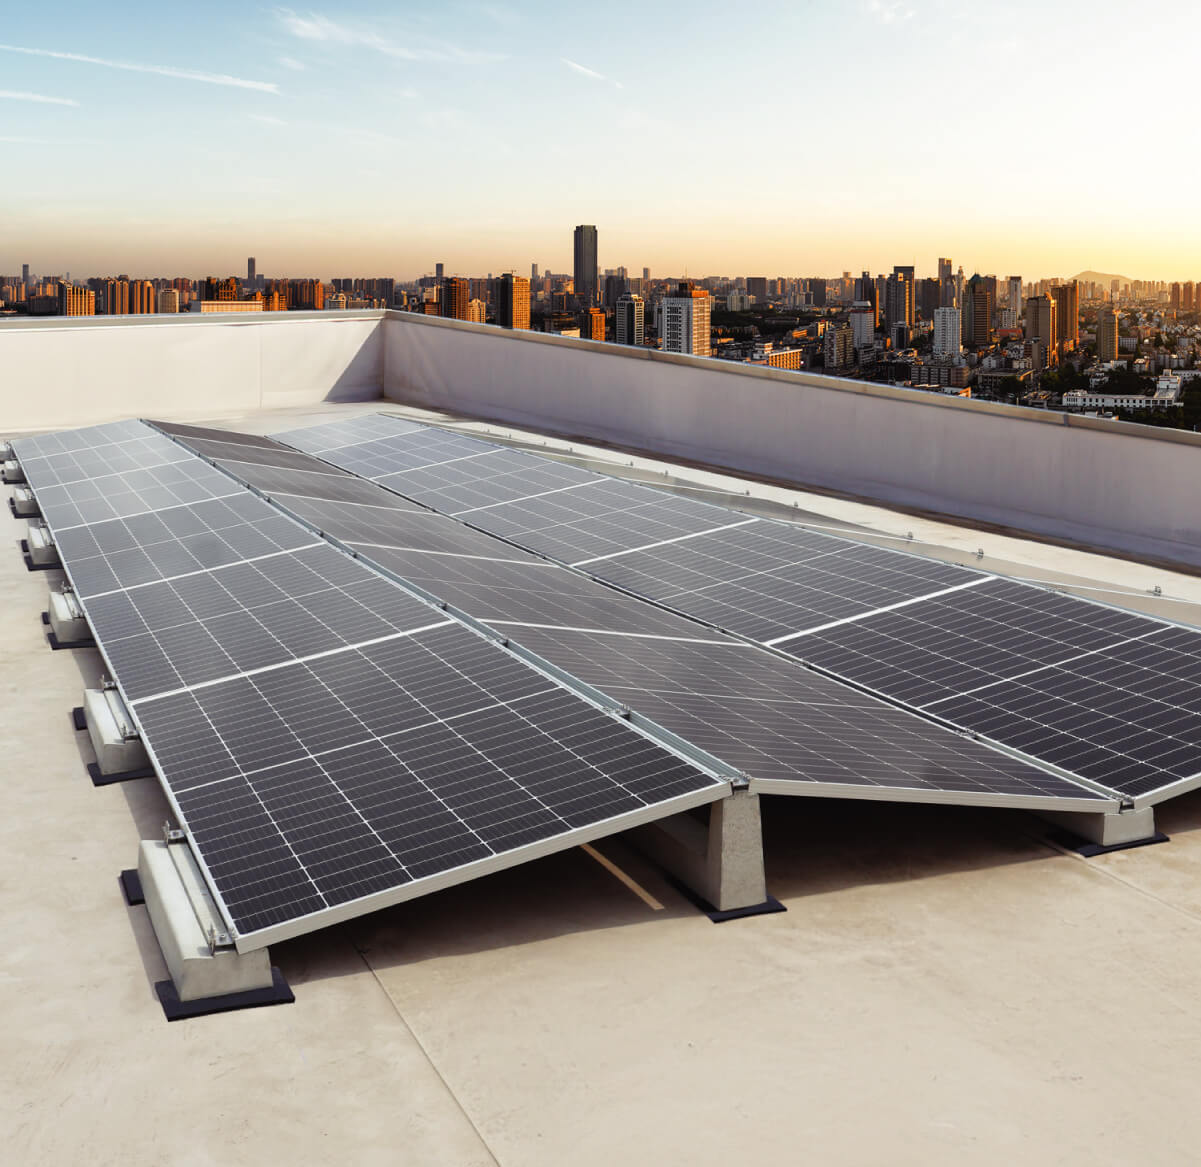
especially when you need clear documentation for wind and load assumptions. If you want a
persuasive reason to choose a ballasted approach, it’s this: you can deliver a flat roof solar
installation that is efficient, repeatable, and built for long-term durability—exactly what
Italian installers, engineers, and distributors need when deadlines are tight and roofs must
stay watertight.